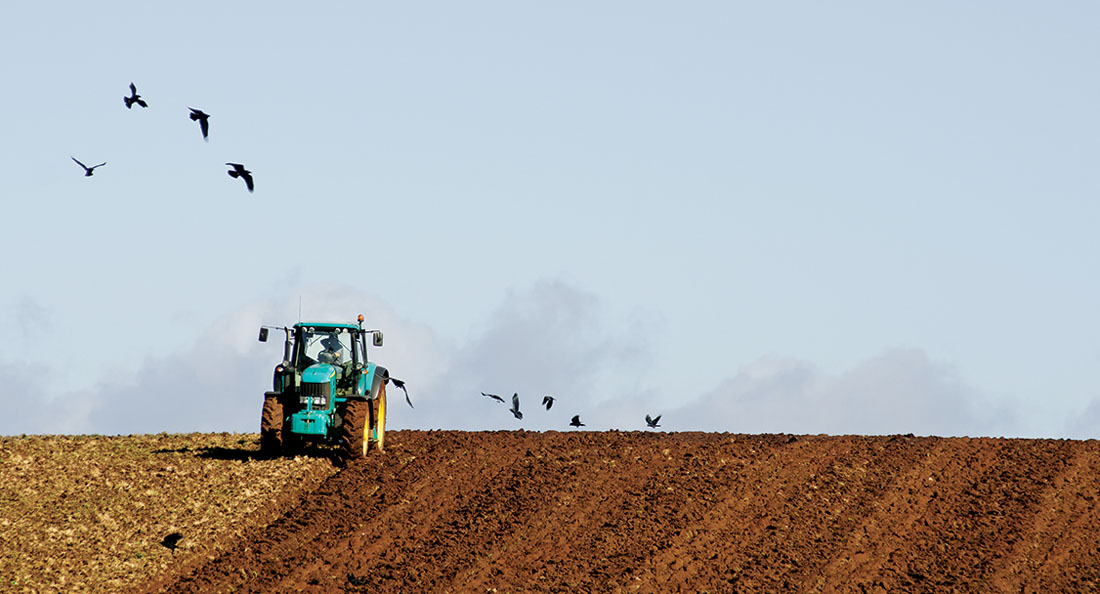
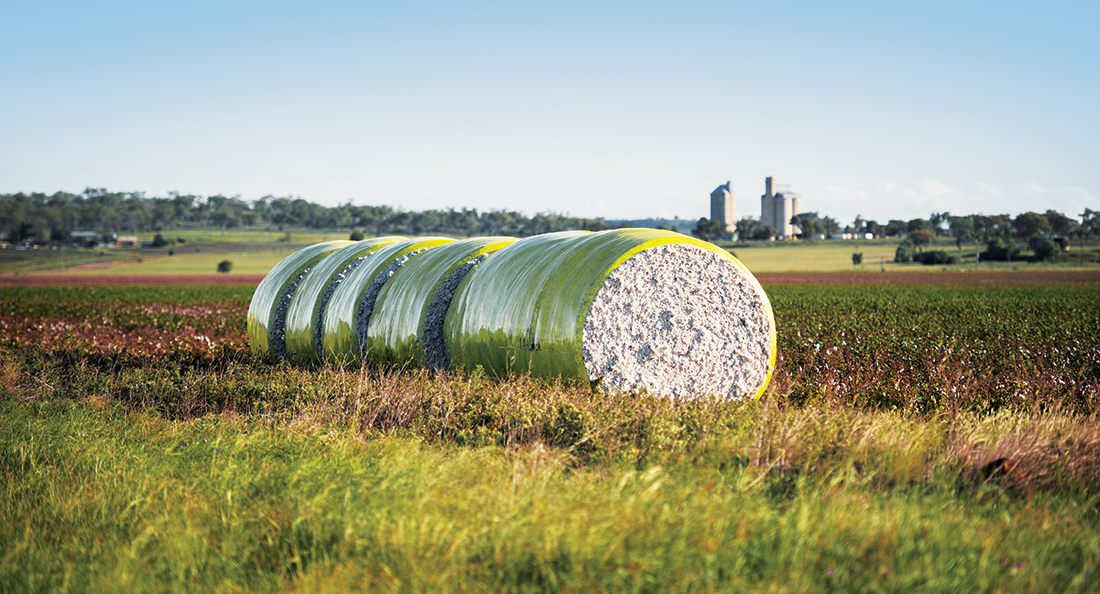
Farmers know they can trust Gates® V-belts to deliver when it’s most important: during harvest.
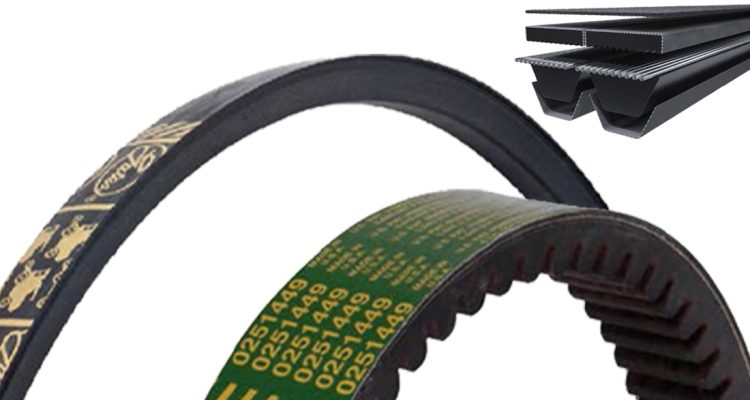
The Gates comprehensive range of agricultural-specific V-belts covers a multitude of applications such as combines, forage harvesters, windrower, flail mowers, chaff cutters and tractors.
XTREME V-FORCE™ MEGA
To improve agri-belt performance, Gates has innovated to create the world’s first wrapped ethylene elastomer (EE) V-belt family. This product has a longstanding reputation of reliability in demanding agricultural applications.
Key benefits:
• 30% longer life
• Extended temperature resistance up to +130C
• Optimised aramid tensile cords for maximum power
• This is an EE-TECH V-belt – so the same benefits above apply
• Shock load resistant
• High performance density
• Enhanced peak load absorption
• Can withstand debris, punctures and slippage
• Available in HB- & HC-PowerBand profiles
AGRI V-belts
These belts are engineered to perfectly match OEM farming machinery and are trusted, strong performers.
Key benefits:
• Reliable power transmission
• High bending flexibility
• Smooth running characteristics
• High abrasion resistance
• Agri-grade flex weave
• Suitable for twisted belt drives (90C or 180C)
• Available in banded or band less versions
AGRI-double V-belts
Characterised by the double-v profile, these are a cost-effective and energy efficient option ideal for serpentine drives.
Key benefits:
• Designed for drives with counter rotating shafts
• Transmits power on both sides
• High strength stability
• Smooth running
• High fibre loaded rubber
If you’re unsure about which V-belts will suit your application, or how to correctly install them, get in touch with your local Motion Australia branch for assistance.
How to: Installing a Gates belt
Agricultural V-belts work in the harshest conditions possible, but the potential for long service life is built into every Gates product. This starts with the correct belt installation.
- Make sure the power is turned off, locked and guard removed, then unbolt one of the pulleys and move until the belt is slack to secure the tensioner.
- Remove old belts and check them for abnormal wear. Unusual or excessive wear indicates a problem with the design of the drive or maintenance.
- Select correct replacement belt.
- Clean belts and pulleys using a rag with a light, non-volatile solvent.
- Inspect pulleys for wear or damage. If more than 0.4mm of wear is evident, the pulley should be replaced. Also make sure pulleys are properly aligned.
- Inspect other drive components including bearings and shafts for alignment, wear and lubrication.
- Install a new belt or belt set. Do not mix old and new belts – replace all belts on multiple belt drives. If you mix belts, the load may be carried only by the new belts. This can result in premature failure. Also, never mix belts from different manufacturers as they may have different characteristics that can cause the belts to work against each other.
- Take up centre distance on the drive. Rotate the drive by hand for a few revolutions until proper tension is obtained on the tension tester.
- Secure pulley or tensioner mounting bolts to correct torque.
- Replace guard and make sure the drive can turn free from external elements.
- Let the belts run in for a while. This process consists of starting the drive, letting it run under full load, and then stopping, checking, and re-tensioning to recommended values.
- During start-up, look and listen for unusual noise or vibration. It is a good idea to shut down the machine and check the bearings and motor. If they feel hot, the belt tension may be too tight. Or the bearing may be misaligned or improperly lubricated.


